
Ventilator
Onboard Medical EquipmentUse this resource in conjunction with your real-world training

Experience Summary
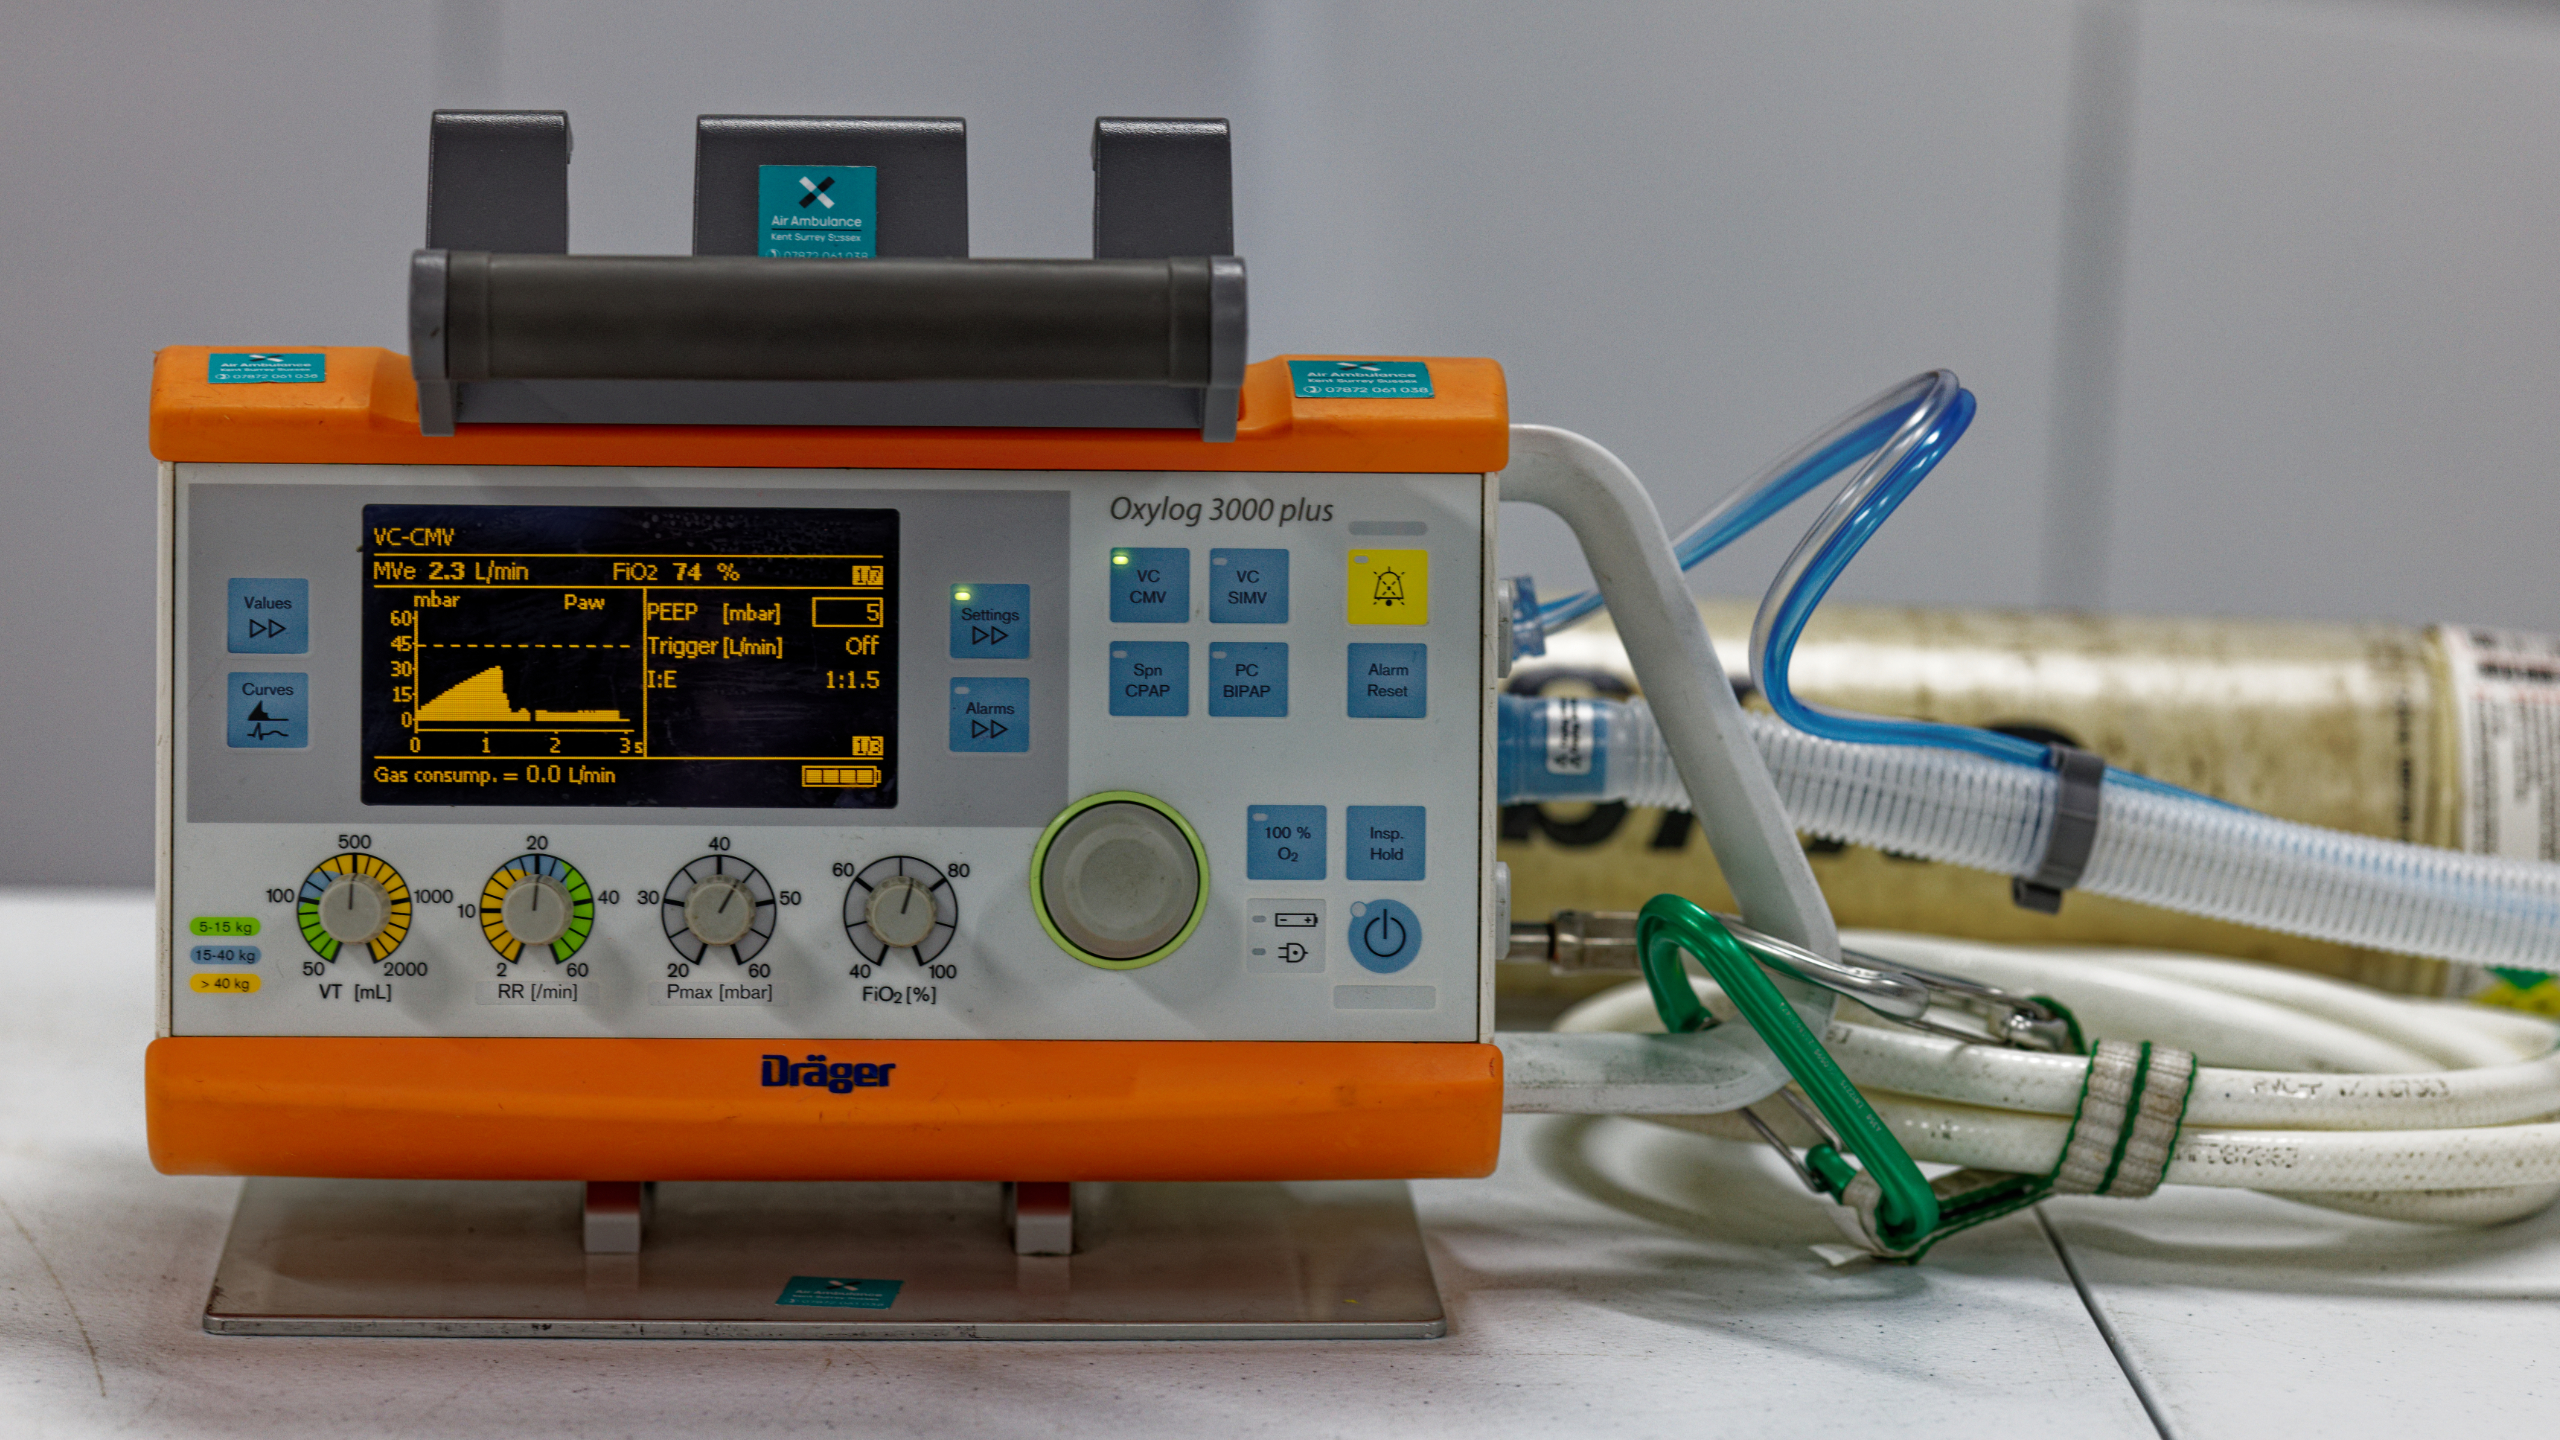
In this 360-degree video, observe the procedure of checking the onboard Oxylog 3000 plus ventilator with a member of the Kent Surrey and Sussex Air Ambulance Charity.
Clinical Context
The onboard ventilator is a critical, life-sustaining device in air ambulance services, designed to provide precise respiratory support during patient transport. Compact, durable, and capable of functioning in high-vibration, low-space environments, these ventilators are engineered for reliable performance under the unique conditions of helicopter and fixed-wing operations.
When to Use an Onboard Ventilator in Air Ambulance
An onboard ventilator is essential when a patient:
- Is intubated and requires mechanical ventilation.
- Has a compromised respiratory system due to trauma, neurological injury, or critical illness.
- Is hemodynamically unstable and requires tight control of oxygenation and ventilation (e.g., head injury, ARDS, or sepsis).
- Needs non-invasive ventilation (NIV) support during inter-facility transfer.
It is especially valuable in neonatal, pediatric, or adult critical care transports, where manual ventilation may be unsafe or insufficient. These ventilators offer features such as volume or pressure control modes, adjustable PEEP, FiO₂ blending, and waveform monitoring—even in turbulent or high-altitude conditions.
Daily Checks (Pre-Mission)
Before any mission, a daily operational check of the ventilator must be completed to ensure it is fully functional and safe:
- Visual Inspection – Check for cracks, wear, or loose fittings. Confirm that the screen, knobs, and connections are intact.
- Battery Check – Verify charge status; ensure sufficient battery life for transport. Connect to charger if below minimum level.
- Power-On Self-Test – Start the ventilator and allow it to complete its self-test. Confirm screen functionality and that no fault codes are present.
- Circuit Test – Attach a test lung or circuit; verify pressure delivery, alarms, and leak compensation.
- Alarm Test – Confirm high-pressure, low-pressure, apnea, and disconnection alarms activate appropriately.
- O₂ Source Check – Confirm oxygen supply is available, connected, and at an adequate pressure for expected transport duration.
- Cleanliness – Disinfect all external surfaces according to infection control protocols.
- Accessory Inventory – Ensure ventilator circuits, filters, masks, and backup batteries are present and in good condition.
Use During Transport
- Setup: Secure ventilator in the designated mount or bracket within the aircraft. Connect to oxygen and verify settings.
- Program Settings: Select appropriate ventilation mode and parameters based on patient needs.
- Monitoring: Continuously monitor patient and device. Adjust settings as needed. Use waveform display and alarms for early detection of issues.
- Arrival: Safely transition patient to receiving facility ventilator, document settings and any changes made en route.
Learning Outcomes
- Understand the daily equipment safety checks in pre-hospital medicine.
- Understand the important components of an onboard ventilator.
External Resources