
Monitoring
Onboard Medical EquipmentUse this resource in conjunction with your real-world training

Experience Summary
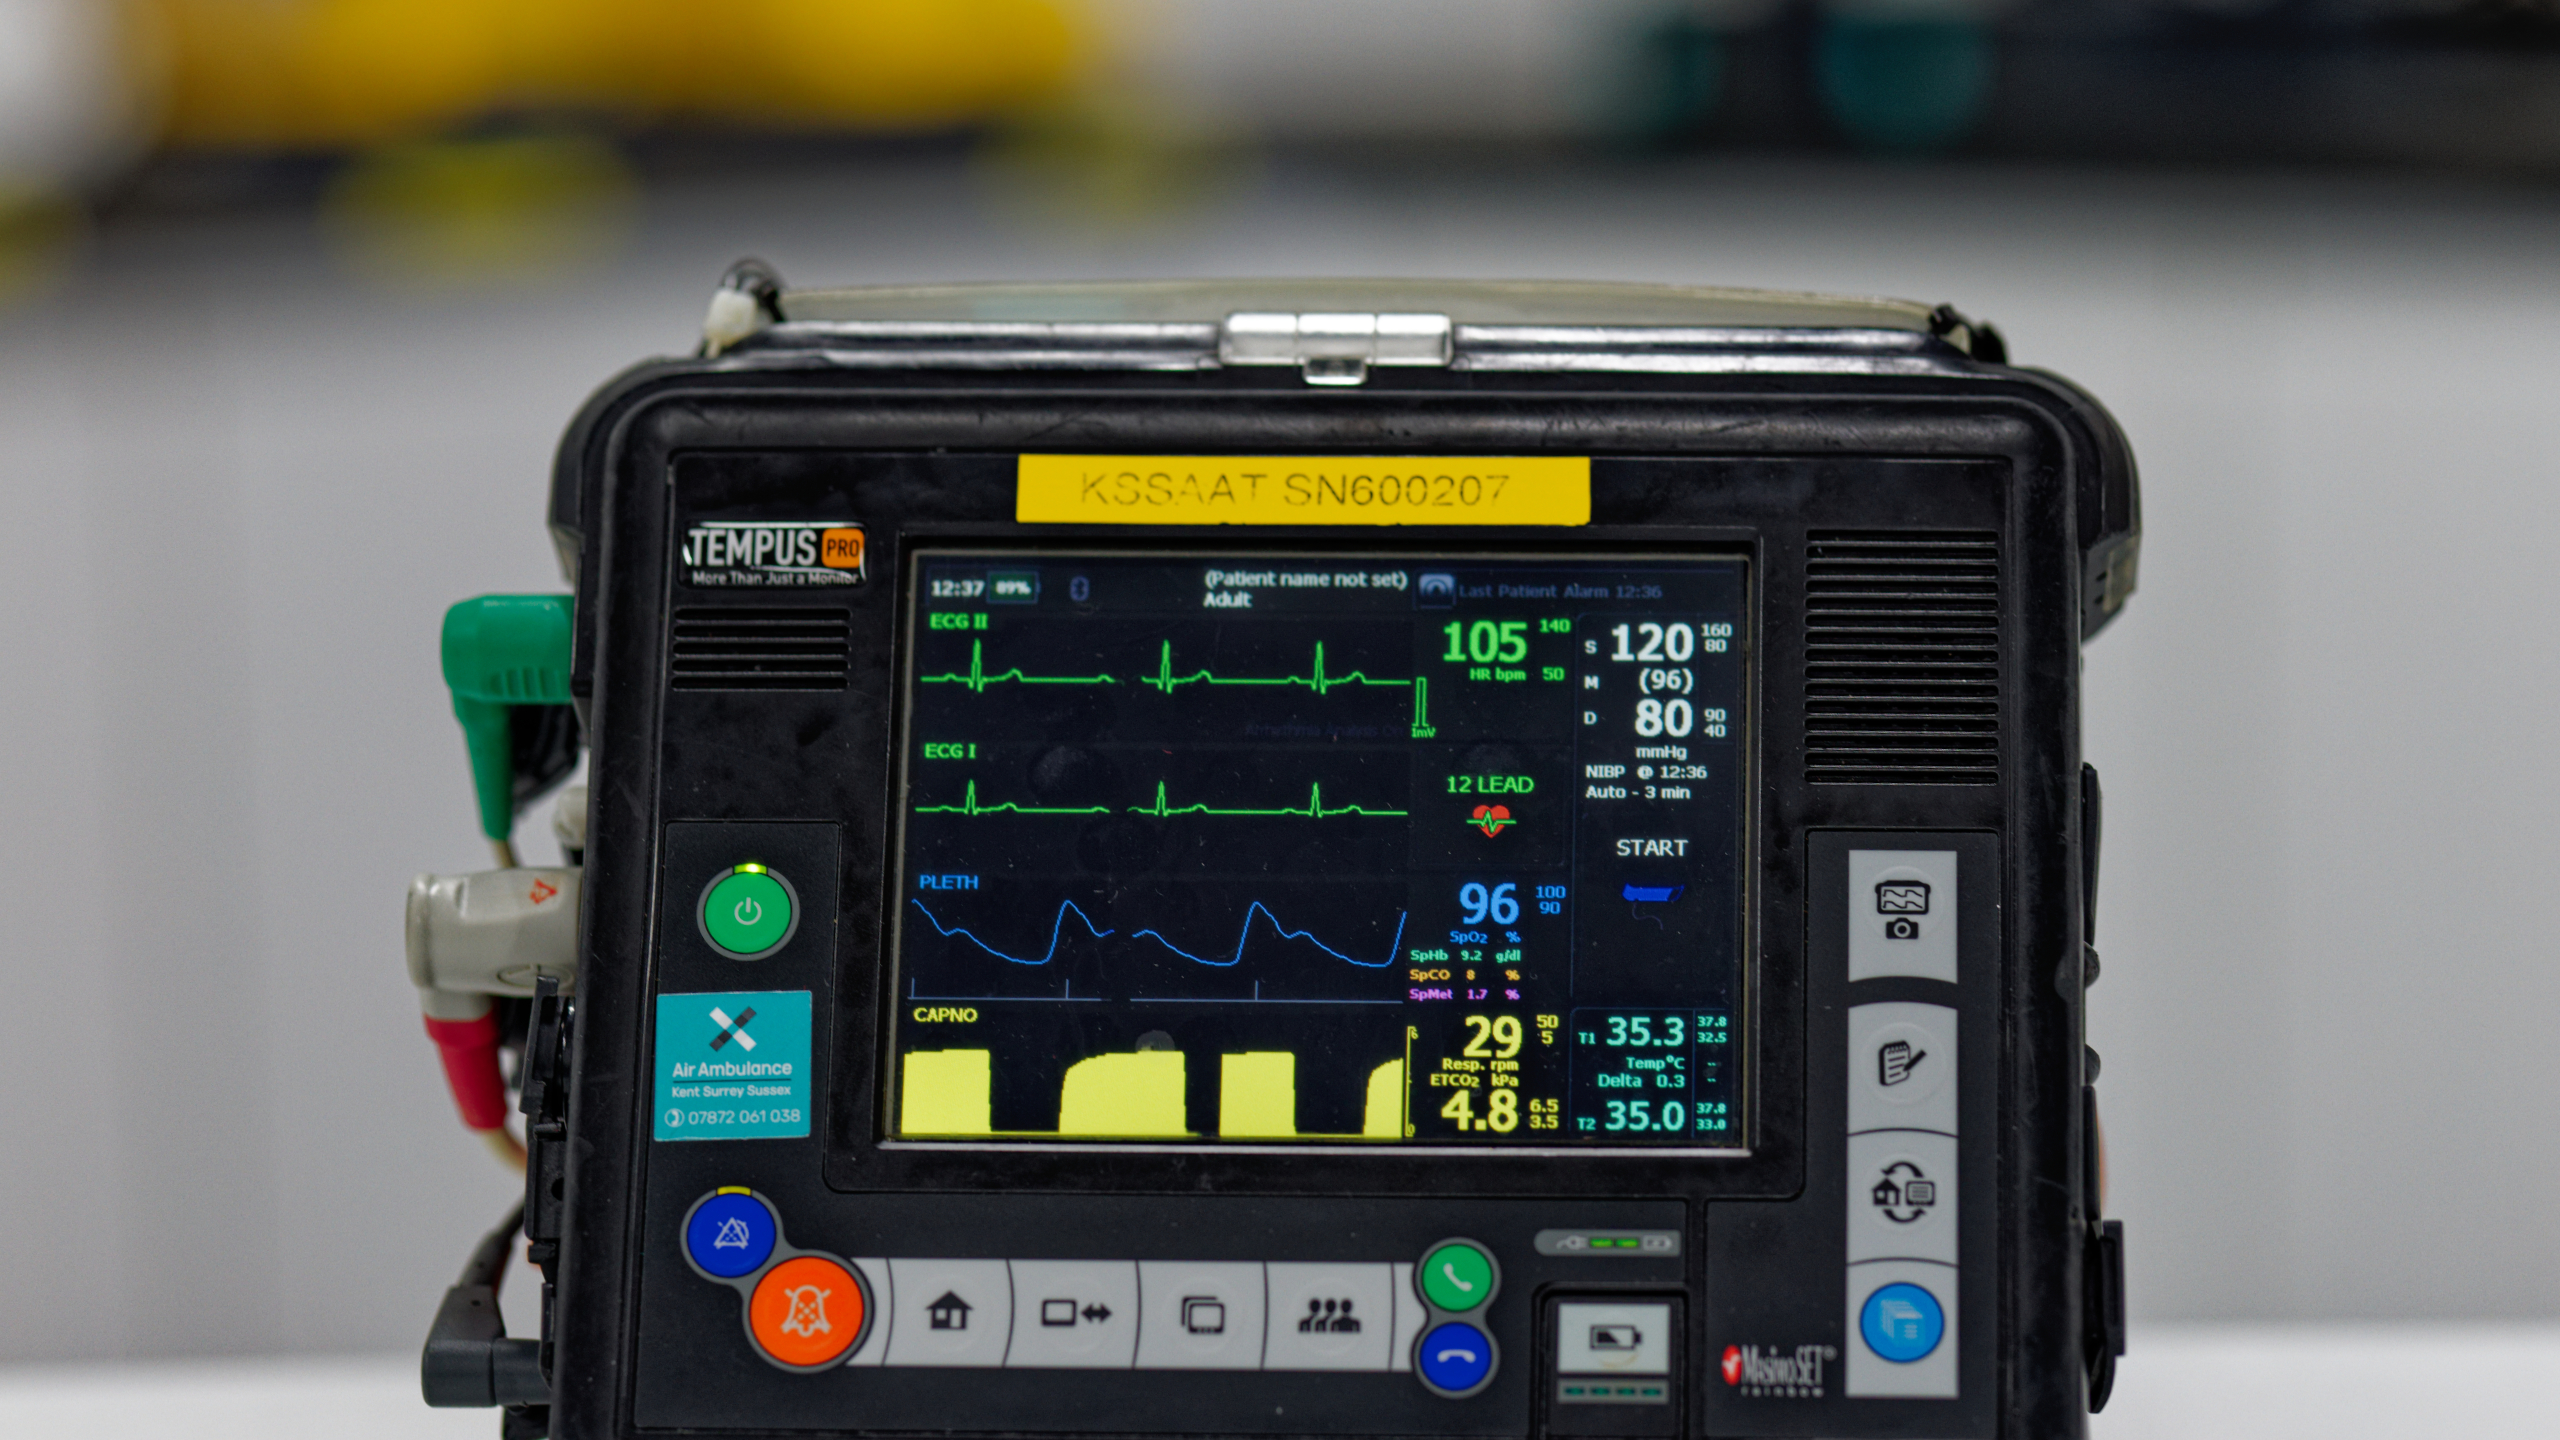
In this 360-degree video, observe the procedure of checking the Phillips RDT Tempus Pro patient monitoring system with a member of the Kent Surrey and Sussex Air Ambulance Charity.
Clinical Context
The onboard medical monitoring device is an essential component of air ambulance services, enabling continuous, real-time assessment of a patient’s vital signs during transport. Designed to be rugged, portable, and multifunctional, these monitors provide critical data under the challenging conditions of helicopter or fixed-wing aircraft operations, where vibration, noise, and space limitations demand highly reliable equipment.
When to Use an Onboard Medical Monitoring Device in Air Ambulance
An onboard monitor is used on nearly every patient transport, particularly when:
- The patient is critically ill or unstable, requiring continuous tracking of vital signs.
- The patient is intubated, ventilated, or sedated, necessitating close monitoring of respiratory and cardiovascular function.
- Cardiac monitoring, oxygen saturation, non-invasive/invasive blood pressure, or end-tidal CO₂ are needed to guide clinical decisions in real time.
- The patient requires ECG rhythm analysis, shock delivery capability (if defibrillator-equipped), or capnography, especially in post-resuscitation or head injury scenarios.
These devices are indispensable for ensuring safe, informed, and responsive care throughout the flight, especially during dynamic changes in altitude, patient condition, or clinical interventions.
Daily Checks (Pre-Mission)
To ensure the monitor functions correctly during flight, daily checks must be completed as part of standard readiness protocols:
- Visual Inspection – Check for any physical damage, worn cables, or cracked screens. Confirm connectors are secure and intact.
- Battery Check – Verify charge level; ensure internal battery is fully charged and backup batteries are present and functional.
- Power-On Test – Turn on the device and observe startup sequence. Ensure no error messages or failed self-tests appear.
- Function Test – Check that all vital sign parameters (ECG, SpO₂, NIBP, EtCO₂, temperature) power on and detect signals with test probes or simulated input.
- Alarm Test – Confirm that high/low alarm thresholds are functioning and audible/visible alarms activate correctly.
- Display and Controls – Verify screen clarity, touchscreen/buttons functionality, and proper menu navigation.
- Cleaning – Disinfect all surfaces per infection control guidelines, especially patient-contacting parts like SpO₂ sensors or BP cuffs.
- Accessory Check – Ensure all necessary leads, sensors, cuffs, batteries, printer paper, and spare parts are present and in good condition.
Use During Transport
- Setup: Secure the monitor in its mount or on the stretcher platform. Connect all leads and sensors before departure.
- Monitoring: Continuously observe ECG, SpO₂, blood pressure, respiratory rate, temperature, and EtCO₂. Adjust alarm thresholds to match patient condition.
- Troubleshooting: Respond promptly to alarms, disconnections, or abnormal readings. Reassess lead placement and signal quality during turbulence.
- Handover: Record key data and trends. Disconnect and transfer monitoring smoothly to hospital equipment upon arrival.
Learning Outcomes
- Understand the daily equipment safety checks required in pre-hospital medicine.
- Understand the important components of an onboard medical monitoring unit
External Resources